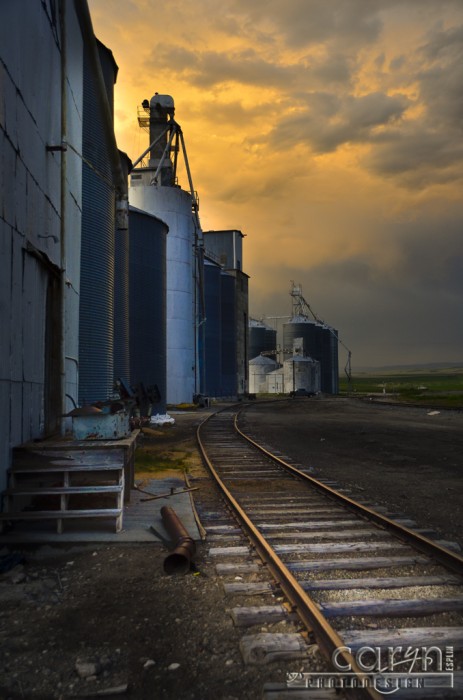
1. CAMERA RAW EDITS: I used adjustment brushes in Camera Raw to "paint in" light on the tracks and silos.

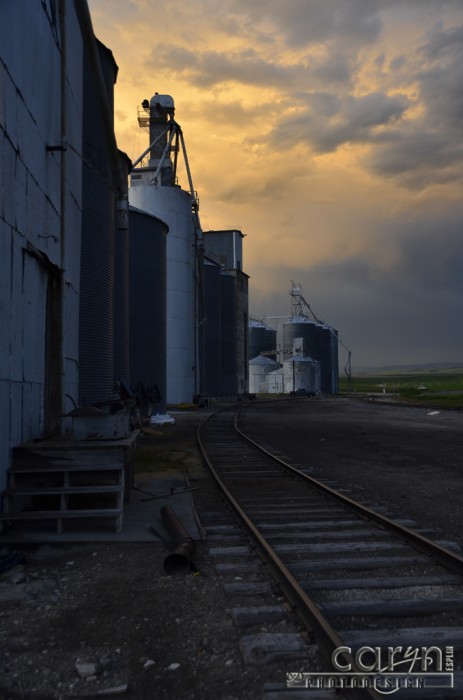
3. ORIGINAL IMAGE: I increased sharpness and sats in-camera, then underexposed the shot to capture accurate sky color and light.
TRY THE ARTISTIC APPROACH: Use good exposure skills in-camera, then add “Post-Production Magic” with Camera Raw adjustment brushes.
One evening a few weeks ago, I drove to the bench above Rexburg, Idaho to shoot the sunset on these old graineries. I loved the leading lines of the railroad tracks. The sunset light was at my back and beautiful, but I wanted to capture this angle of the tracks. So I waited until the light showed up on the opposite horizon of the sunset (the East sky) to take this shot. I underexposed this shot to get an accurate sky, then I added the light and accents to the foreground in Post-Production with Camera Raw. I wanted to show you my process with this image. I tried Photomatix HDR, which I sometimes like to use for tonemapping, but in this case, I prefer the effect I ended up with using Camera Raw.
3. ORIGINAL IMAGE: First I turned up the sharpness and sats inside my camera, so I would not have to do that in post production. With landscapes you can get better accuracy if you try this method. In a Nikon it is called Picture Control in the Menu. In a Canon, I think it is called something similar. After a quick test image in Manual Mode on my Nikon D7000, I determined the proper settings to underexpose the image: f/4.5 1/125 ISO: 320 Focal Length: 36mm on my Nikon 18-200 lens. I wanted to expose for the sky to get the proper color and light. This is how I saw it with my eyes. Nice vivid light. I love getting accurate skies in my camera without having to edit it in Post Production. If I had lightened the exposure up, the foreground would have looked great, but the skies would have been blown out. It is easy to lighten an image, but if the detail is gone and things are too bright (blown out) then you lose out. This is how I always like to shoot landscapes… EXPOSE FOR THE SKY! However to light up the foreground scene, I needed to add light: either with spotlights on the scene, or in Post-Production with Camera Raw adjustment brushes. This time I opted to shoot the foreground dark, and add the light in Camera Raw.
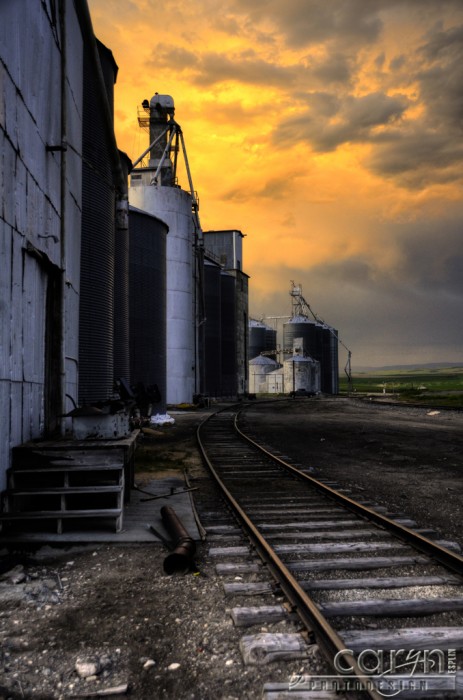
2. HDR IMAGE: I used Photomatix to tonemap this shot. Since I did not bracket this image (shoot several different exposures) I just used Photomatix and it did a nice job, as usual. Even though it improved the light in the foreground, the color was not where I wanted it to be. Sometimes I like a subtle HDR effect, but in this case I wanted to try my hand with Camera Raw.
1. CAMERA RAW IMAGE: I opted for the artistic approach and used the adjustment brush in Camera Raw to paint in a swipe of light along the left edge of the image to show more detail in the graineries and old steps. Then I used a second brush to lighten part of the tracks. This really brought out the color of the sun from behind me on the tracks. I like to leave some dark areas for contrast, so I was careful not to lighten the whole foreground. The final effect gives you some creative lighting, with beautiful sky color and interesting foreground light to feature certain details. I love this editing method I like to call “Post Production Magic.” The key is to get a good shot in the camera that is under-exposed to show the best sky possible. I always like to do as much as I can in the camera. Then it only takes a few minutes in Camera Raw and voila’ you have created something with an artistic flair!


Do you use Lightroom or Capture NX2 software?
Excellent post and did you use the Nikon D7000 for the final shot? AWESOME blog BTW….