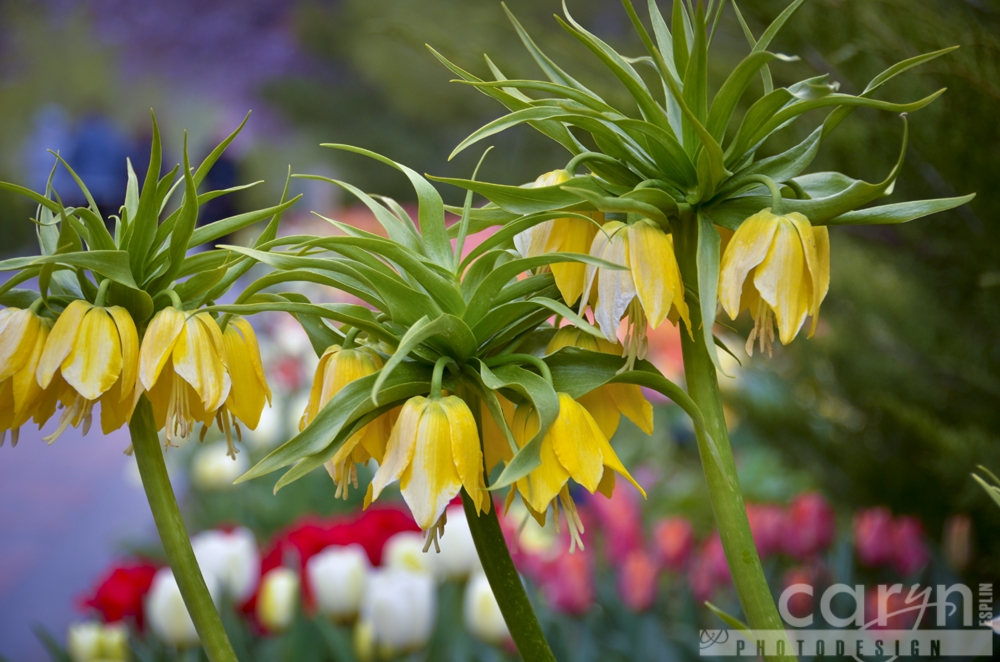
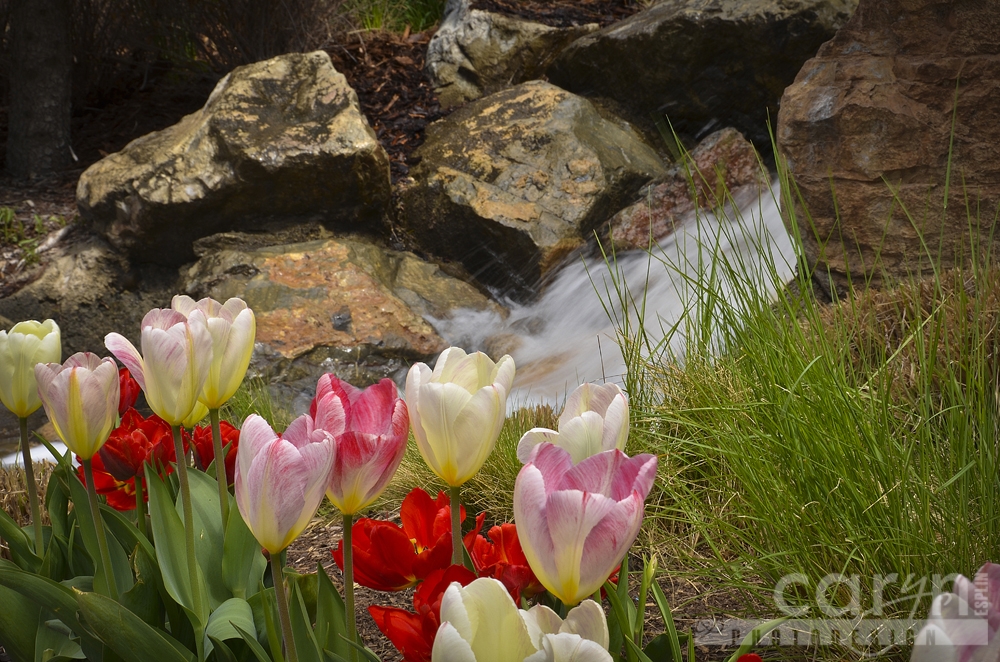
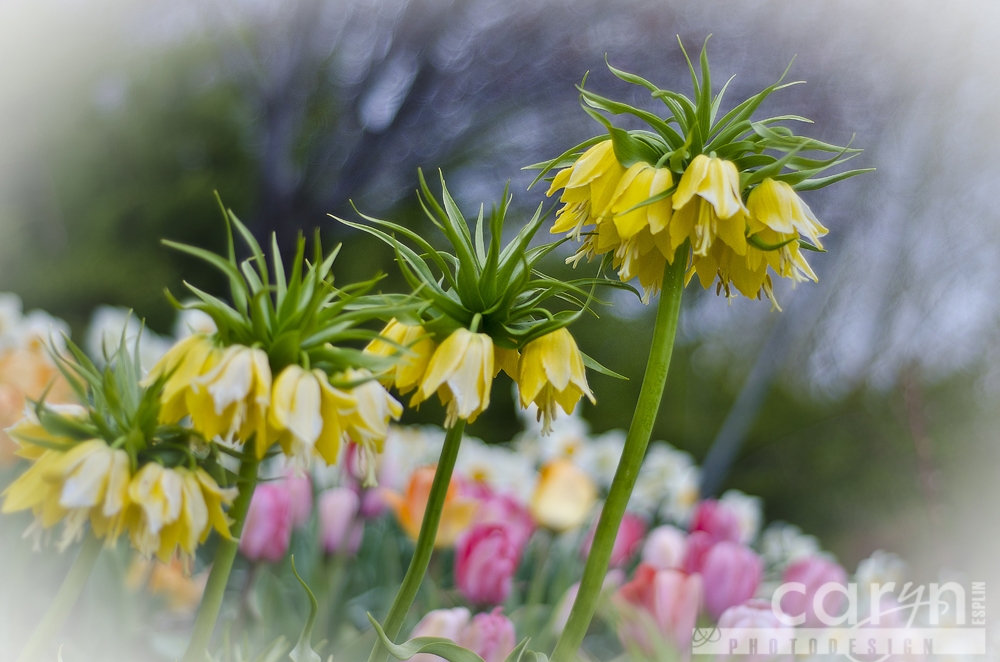
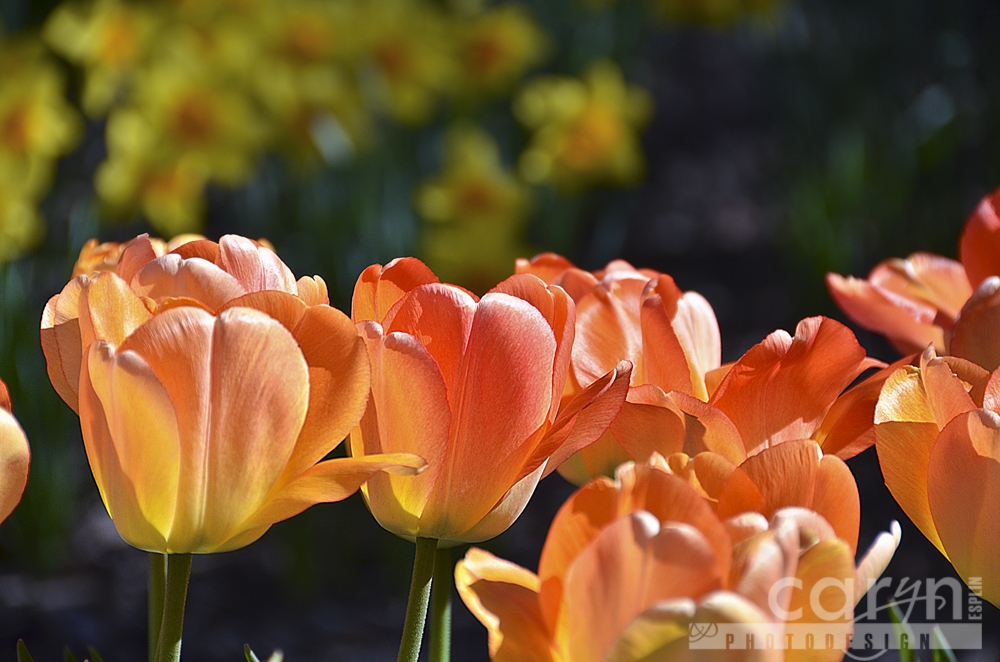
I just had to go somewhere to try out my new camera, the Nikon D700 with the Nikon 18-200 lens. So I tool these images at Thanksgiving Point, Highland, Utah – a nice day trip from Rexburg, Idaho. It is a seriously great place for a photo shoot! Just sayin…
 |
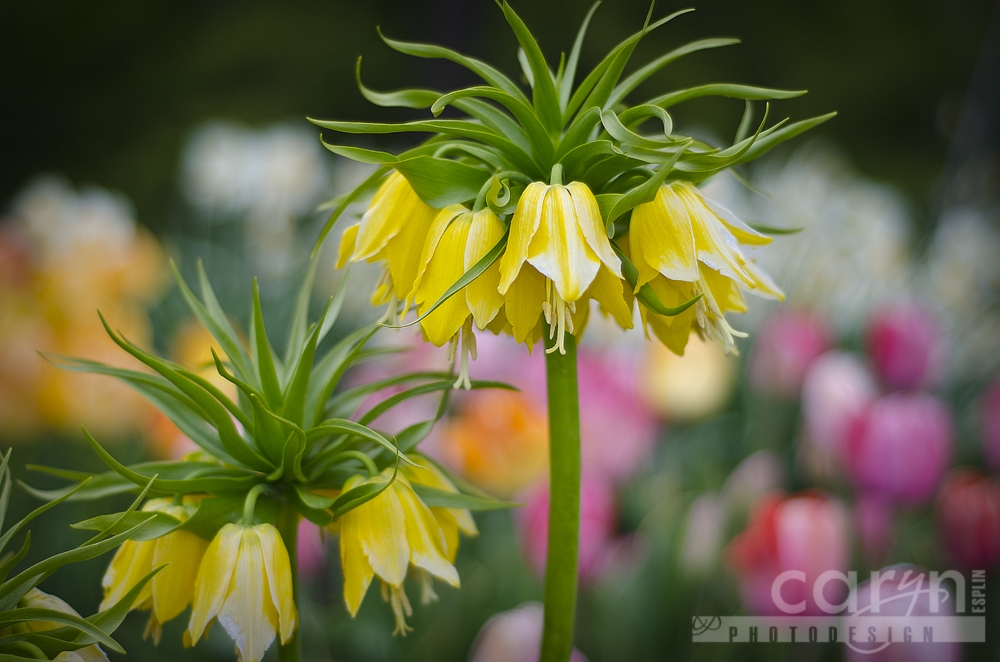
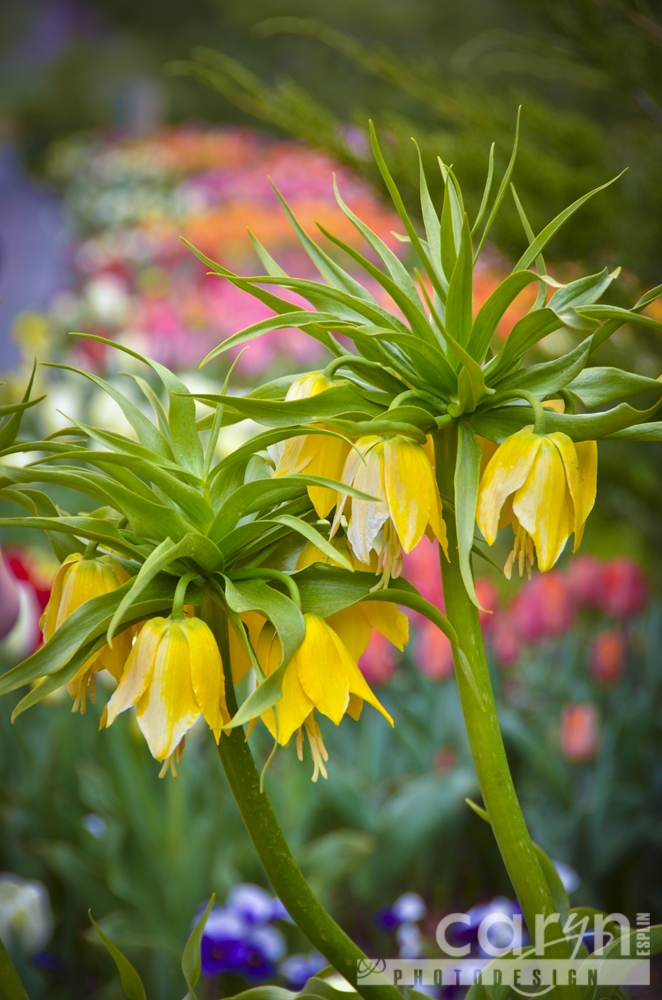
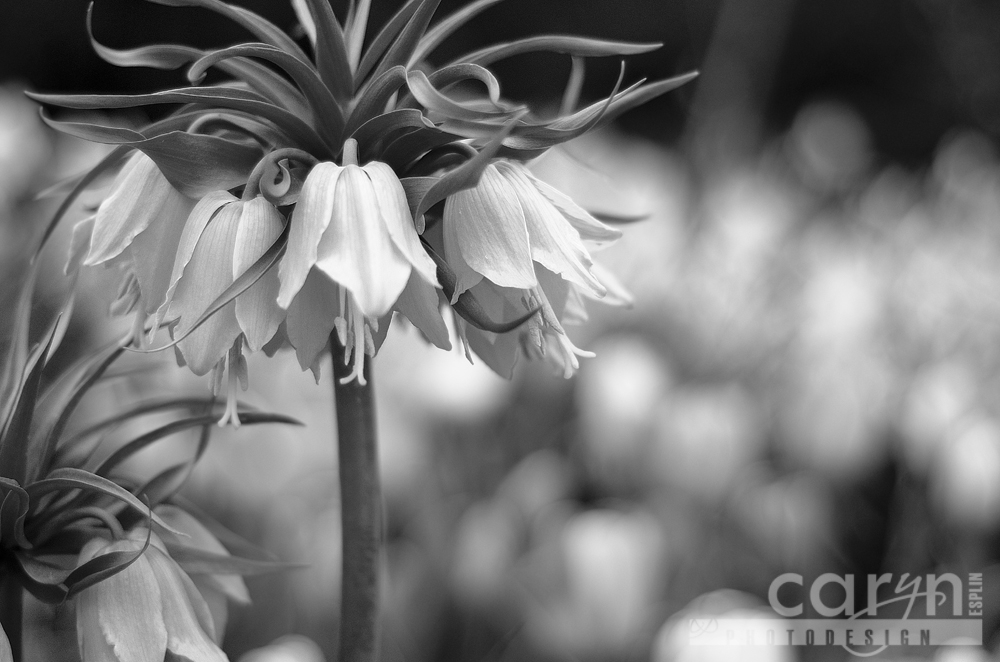
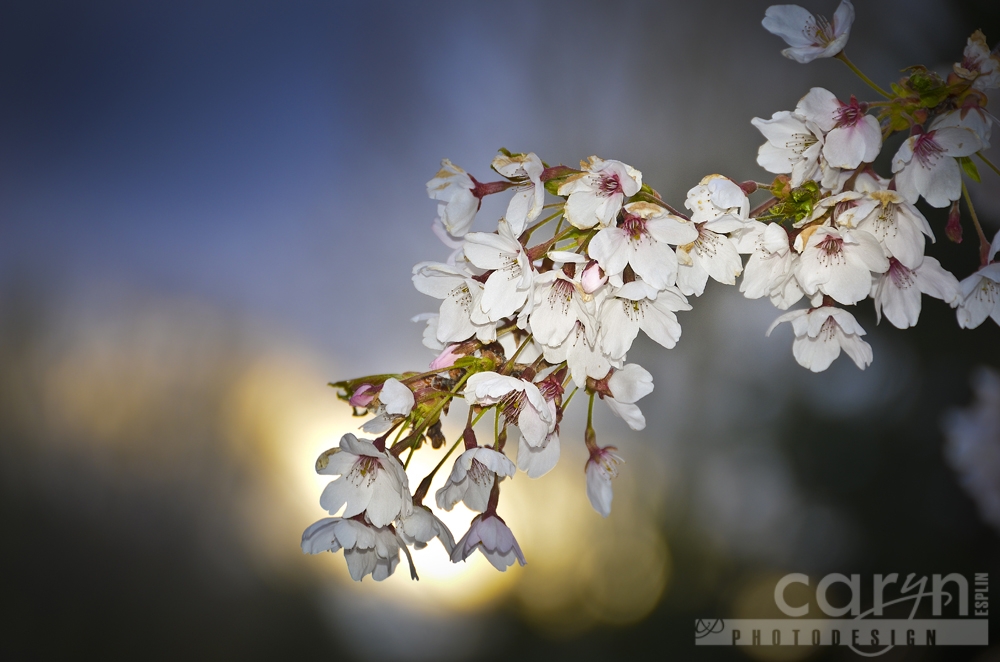
| 1. My new Nikon D7000 and a 50 mm prime lens (1.8) are a great pair for getting bokeh (background blur). I used camera raw to add a highlight to the focal point flower. |
 |
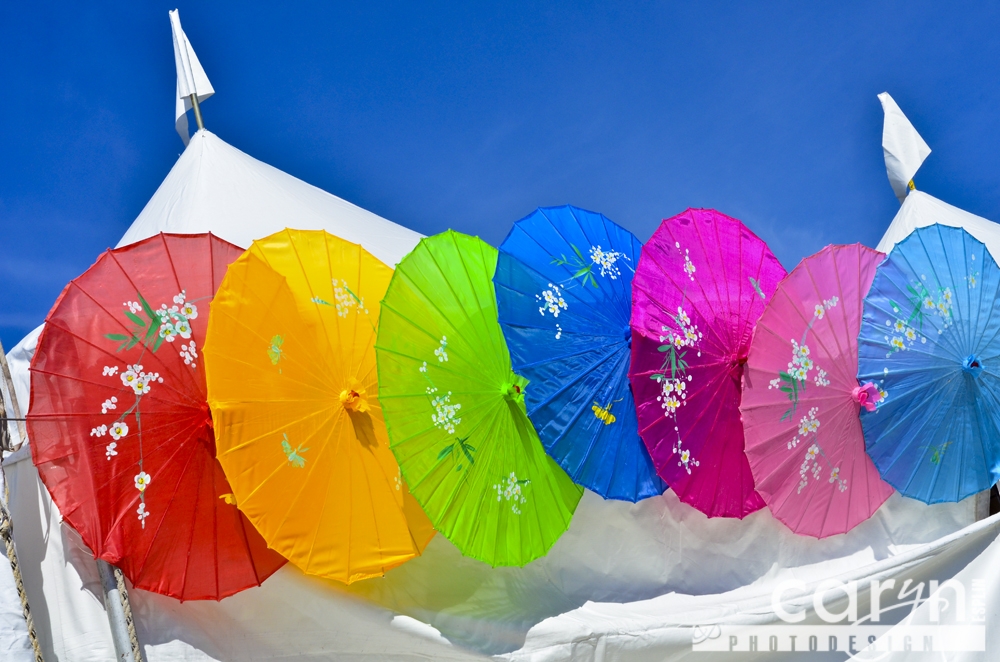
| 2. Most of the time, I used my Nikon 18-200 lens, which is super sharp all the way through. I am loving that lens, even more than I loved the colors in these umbrellas, especially against the brilliant blue sky. I used the vivid setting in-camera to get these colors to pop. |
 |
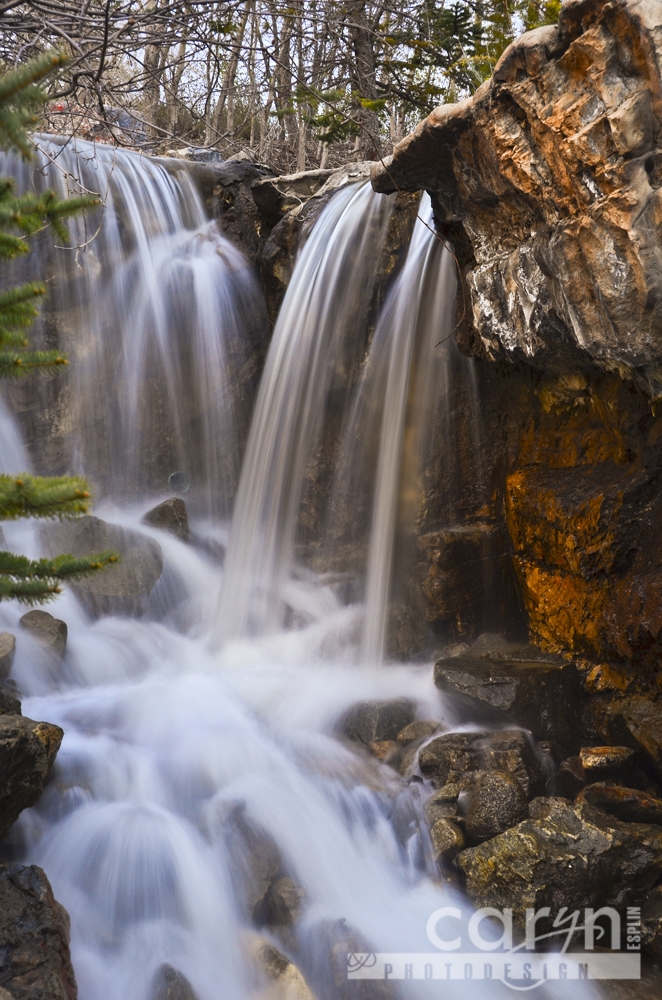
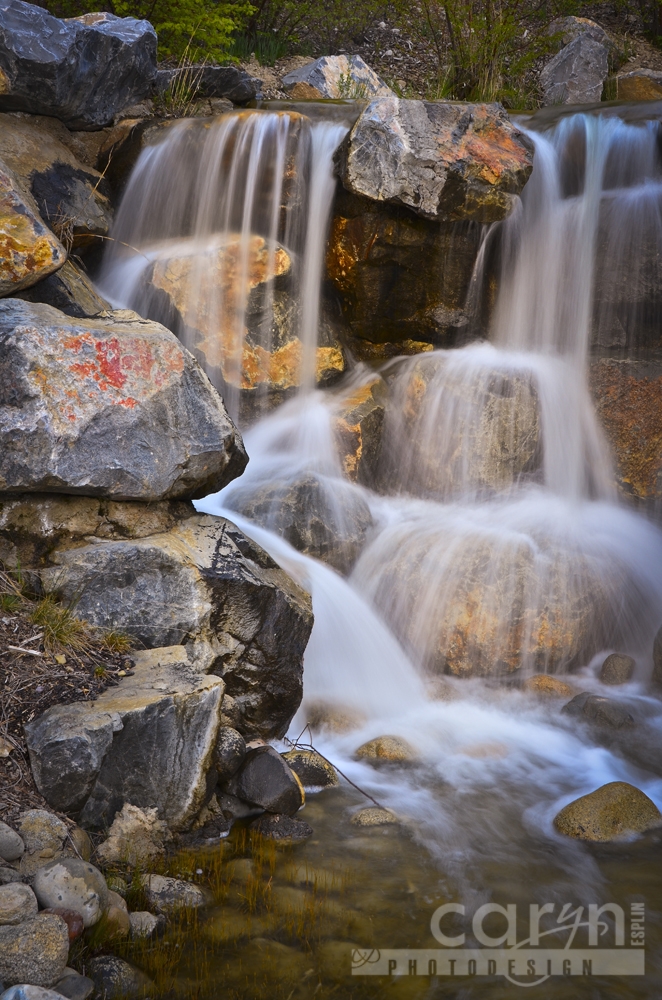
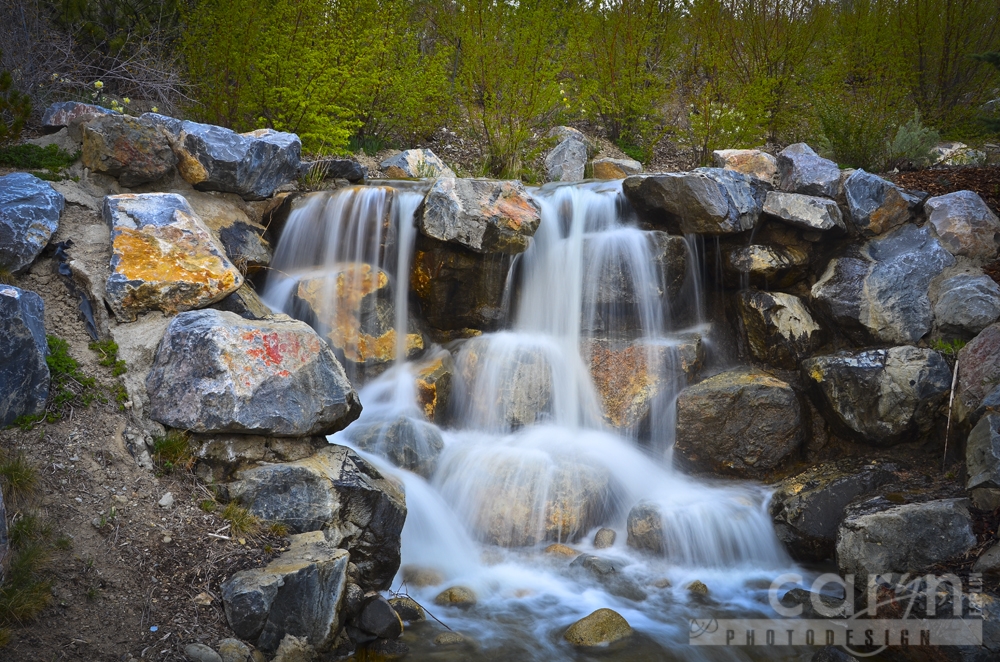
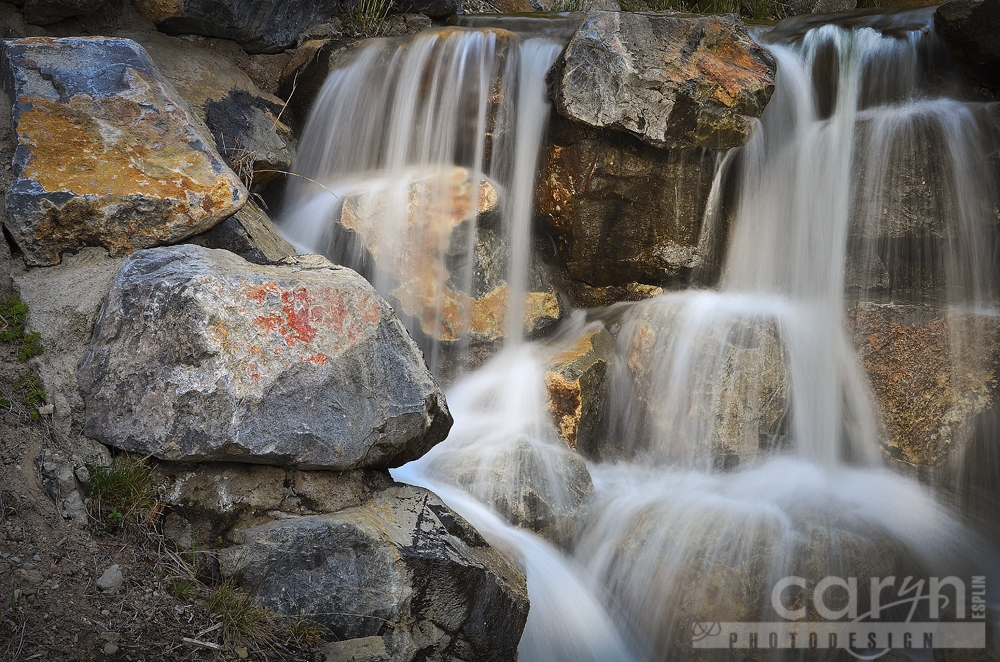
| 3. To get smooth waterfalls, you need three things: A. low light; B. A tripod; C. slow shutter speed (in this case: .6 second). |
 |
| 4. This shot did not do much for me, until I used some creative painting with the camera raw adjustment brush. This is an example of the Three Cs in Action: Capture – Create – Communicate. |
 |
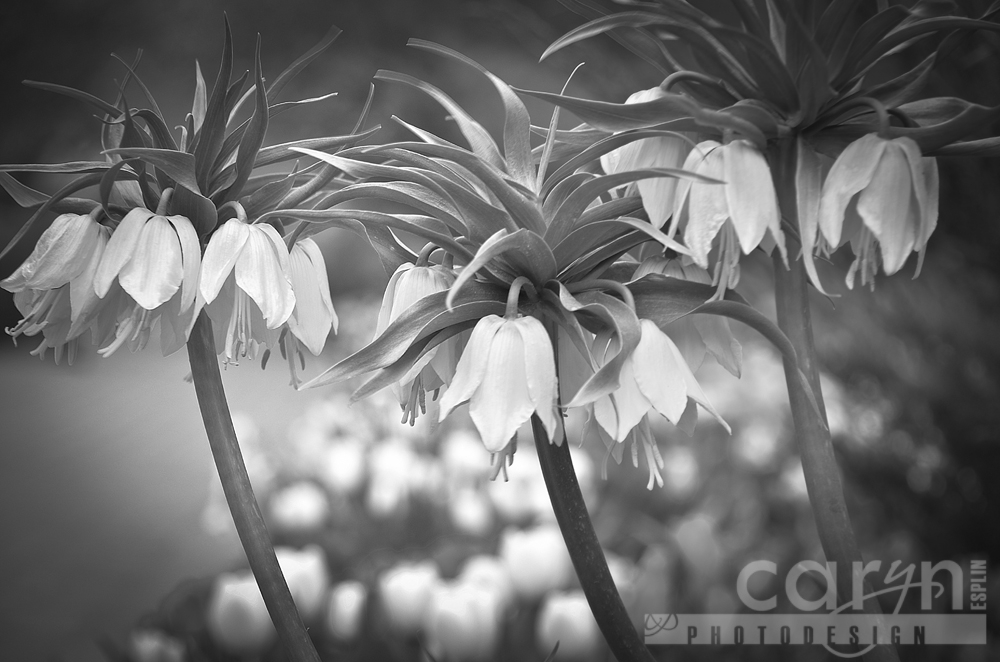
| 5. I just could not get the colors to look right in this image, even in Camera Raw. I guess it was because it started out too dark and the white balance was off. It worked much better as a black and white image though, so… “it is never too late!” |
 |
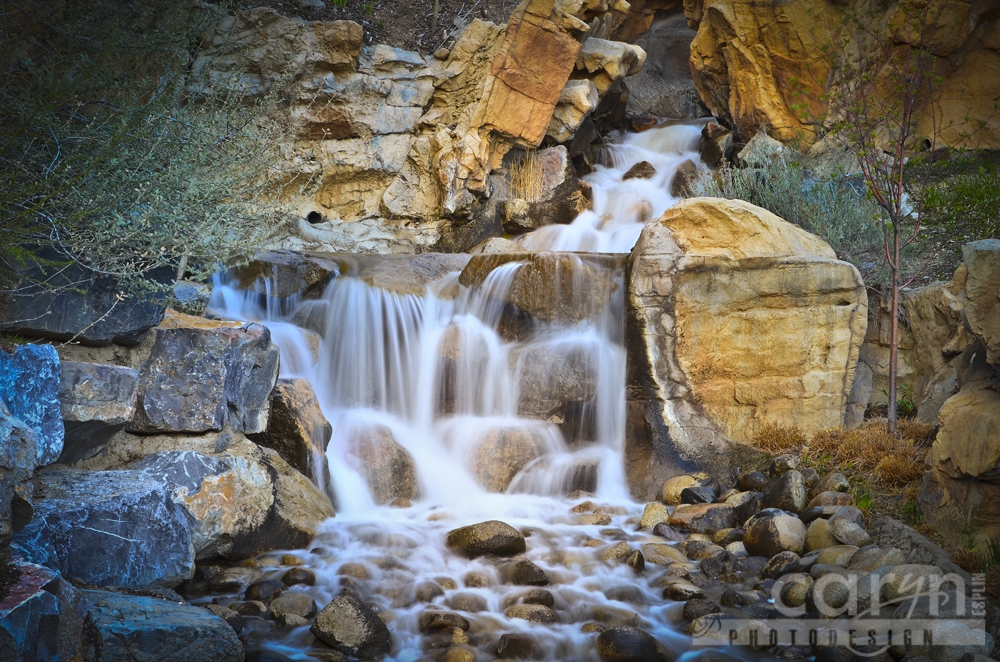
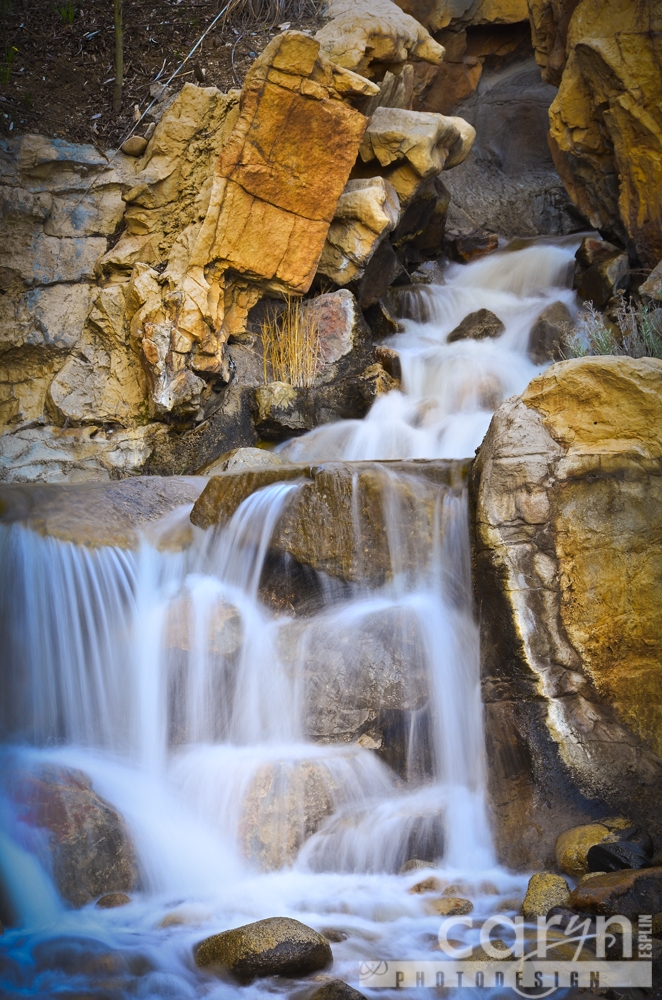
| 6. The large rock in the right center of these falls adds a nice contrast to this busy scene. |
 |
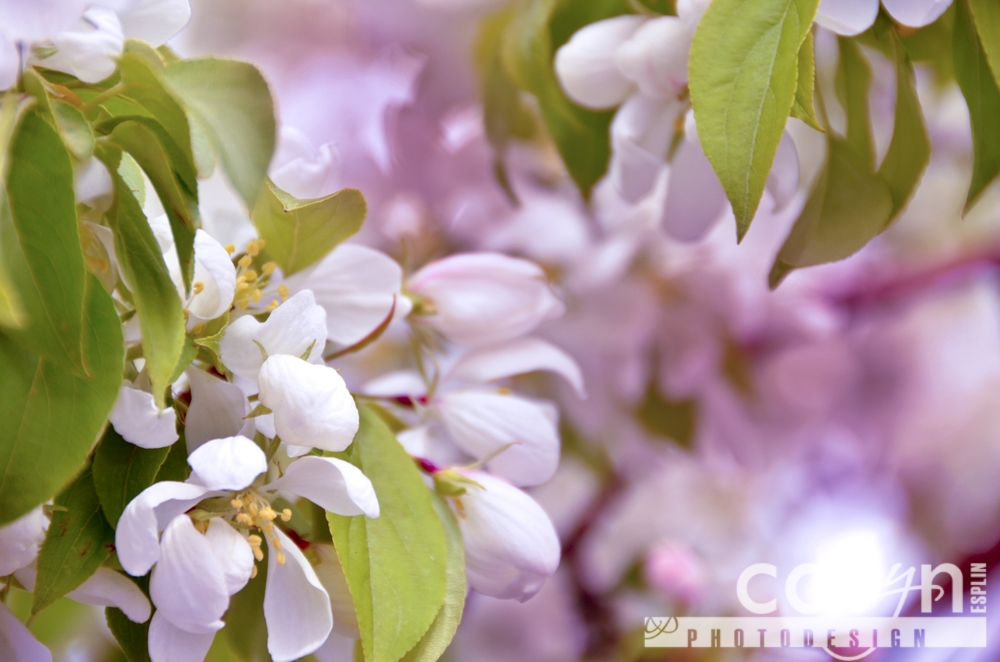
| 7. Again, I did not love this one, until I brought out my magic Camera Raw paintbrushes. I darkened the entire exposure to saturate the colors, then I painted some light in the blossoms to accentuate the focal point. Lighting only one part of the scene usually makes a more creative image. Finally, I brought it into Photoshop for the final sharpening filter. |
 |
| 8. The trilogy. Threes always help make a nice composition. |
 |
| 9. I was amazed how much I like the in-camera VIVID setting for something fairly dull like this waterfall. The colors in the rock just jumped out, so I did not need to add sats in post-production. I do not like the VIVID setting for portraits or brightly colored subjects, but for rocks and bland values, the VIVID, or LANDSCAPE settings in your camera might be worth a try. |
 |
| 10. Try getting a lower angle to set up something interesting in the foreground. I added a little Smart Sharpen filter in Photoshop to perk up the tulips. |
 |
| 11. Adding a white vignette helped this image and added to the fun, whimsical feeling. |
 |
| 12. Smooth water in-camera with a slow shutter speed. I took a little blue cast out of the water with a Camera Raw adjustment brush. Can you tell I just love the Camera Raw adjustment brushes to paint in light and color? It brings the creative, artistic approach to photography. |
 |
| 13. Go for contrast with light, color, and value. |
 |
| 14. Blurring the water, without blurring the rocks gives a nice effect, and I love how you can see right through the waterflow with this technique. Again you need all three: 1. low light; 2. tripod 3. slow shutter. |
 |
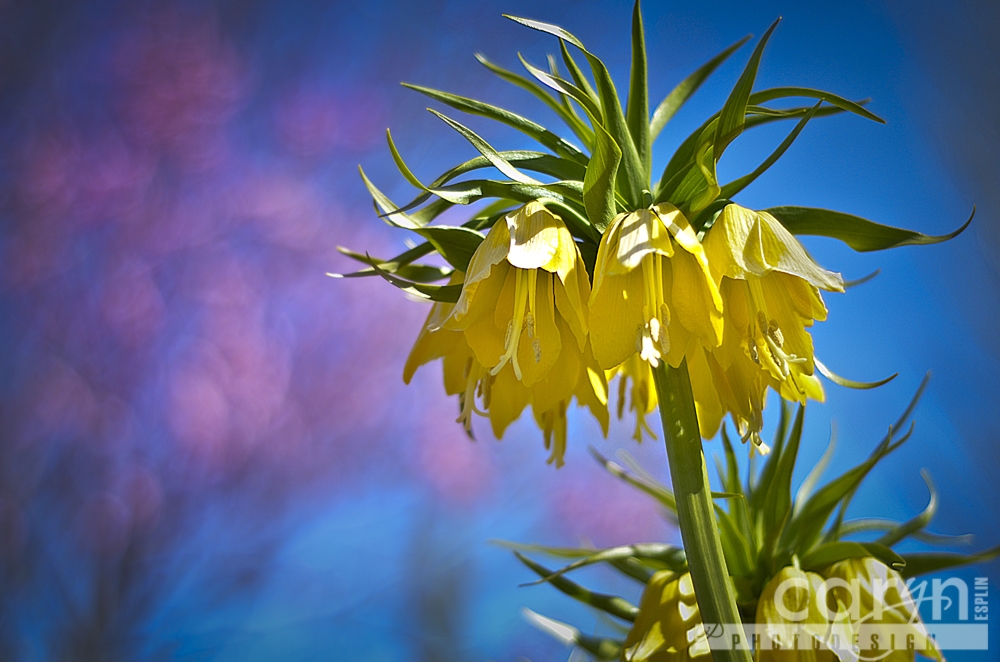
| 15. These upside-down tulips were such a stunning contrast in size, shape and texture, to all the other flowers. |
 |
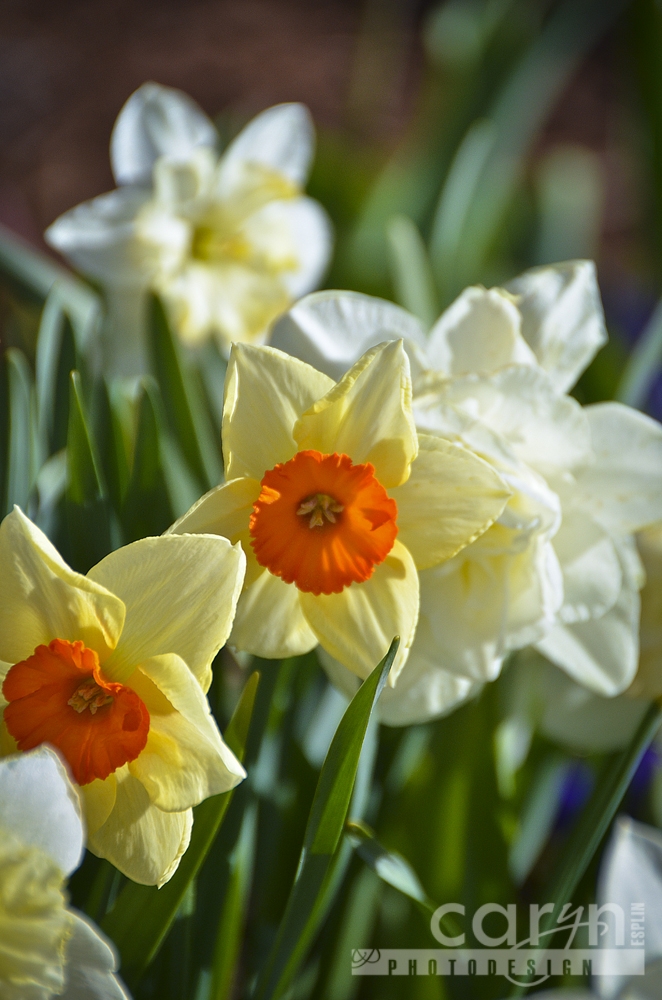
| 16. Ah, the daffodils were out too! |
 |
| 17. It is amazing how fast time flies by when you are taking slow shutter speed shots. Of course, it was much darker than it appears. |
 |
| 18. Again, changing the angle produces a more pleasing background, and shows a view most people miss. |
 |
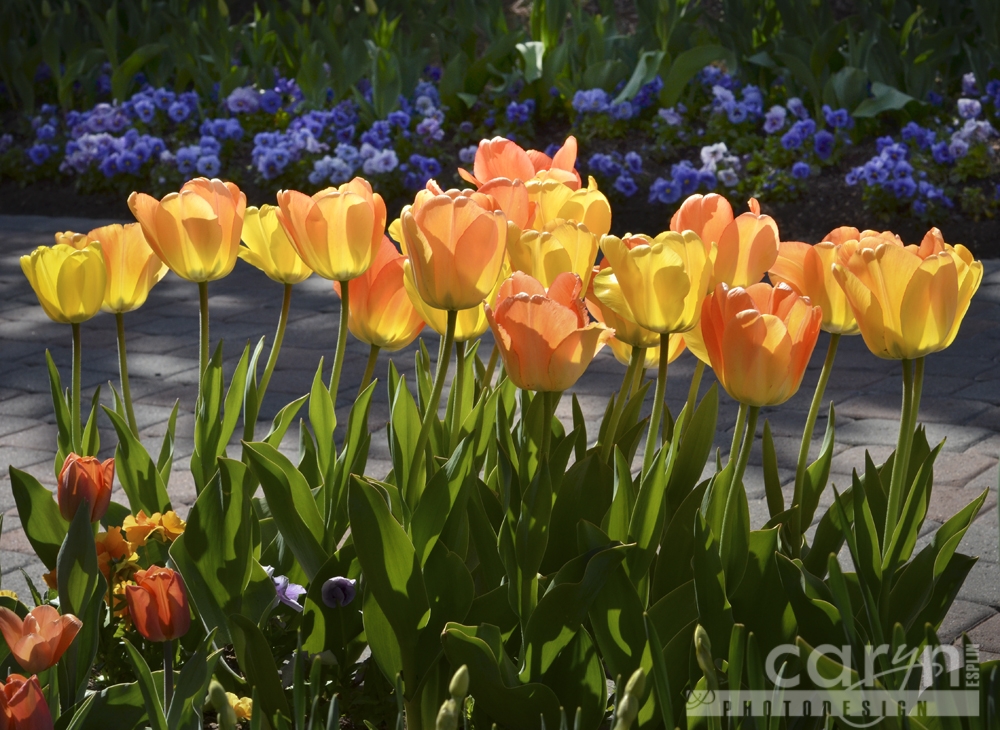
| 19. Nothing like back-light to shine through the translucent petals. |
 |
|
20. Let’s end with this classic black and white I achieved in Camera Raw. I also added a black vignette to give that gradient light effect.
NOW, HAVE YOU GUESSED THE LOCATION OF THIS PHOTOSHOOT? |
