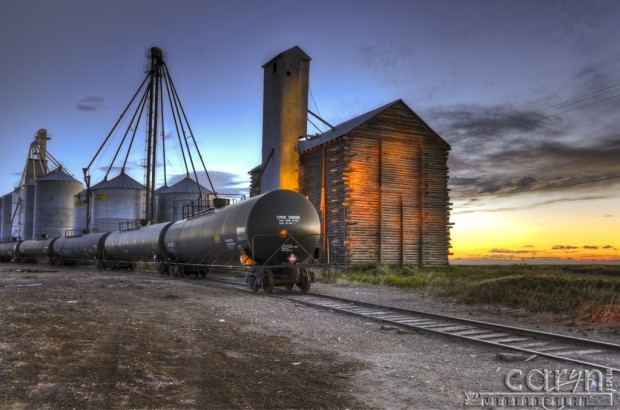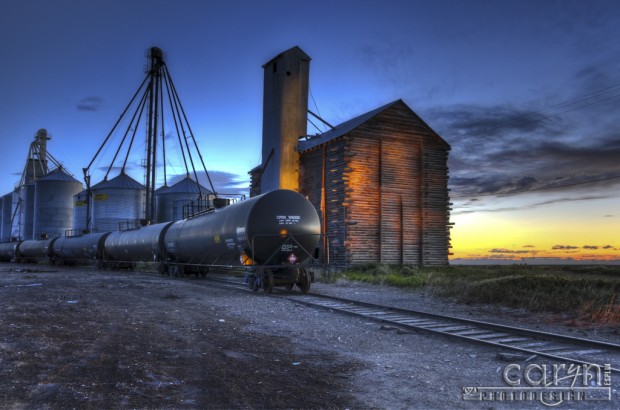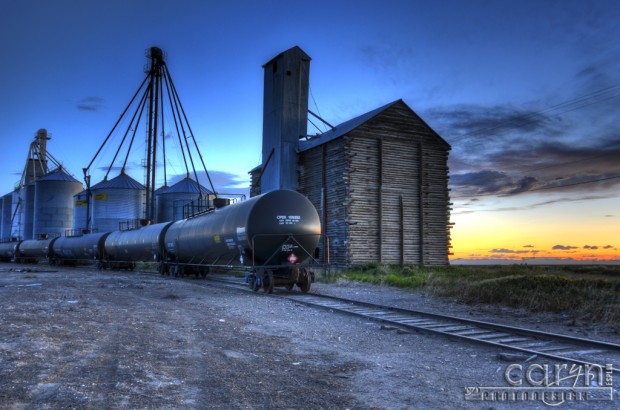
1. All 4 images (including the light painting) in Photomatix for HDR, then white balanced in Camera Raw.
BRACKETED SHOTS + LIGHT PAINTING + PHOTOMATIX HDR + CAMERA RAW
To get the effect in the top image I used several steps:
1. BRACKETING ORIGINALS: I set up my camera on a tripod at the end of the sunset. I used my bracketing feature to take three exposures: f/9.0 shutter ranged from 1″ to 1/20 with ISO: 100.
2. LIGHT PAINTING: When the sun was even lower, I used a large spotlight to paint light for 10 seconds on the old grainery building and tower: f/22 10 sec. ISO: 100.
3. HDR WITH 3 and 4 IMAGES: In shot #3, I brought the three bracketed shots into Photomatix and tried and HDR effect. In shot #2, I used HDR with all four images. By adding the light painting shot Photomatix was able to blend in the interesting orange lighting on the building.
4. CAMERA RAW ADJUSTMENT: In shot #1, I took the final blended HDR image into Camera Raw to correct the white balance so it was not so blue and appeared truer to what I was seeing that night.


this tutorial is so legit! It was really helpful to see the actual images and how they look each step of the way. I think doing an hdr light painting is a really neat idea and definitely adds to your image.
Thanks for all you do, you have taught me so much in this class and i look forward to the rest of this semester as well!
This is an interesting idea that I think I will try. Thank you for sharing the how to’s for capturing and post processing. I also enjoyed the direct writing style that you used to keep things straight forward and simple with enough information to enable others to try it out. Thanks again. I am off to explore other areas of your website.
Great picture. I’ll try it ASAP.
Thanks